
Chrome extension
The HelpHero Chrome extension is the fastest way to get going with HelpHero. It allows you to create/edit and preview tours without making any changes to your web app.
Prefer to watch? This two minute walkthrough covers everything on this page.
1. Install the HelpHero Chrome extension
Section titled “1. Install the HelpHero Chrome extension”The extension is available to install from the Chrome Web Store.
2. Navigate to your website URL
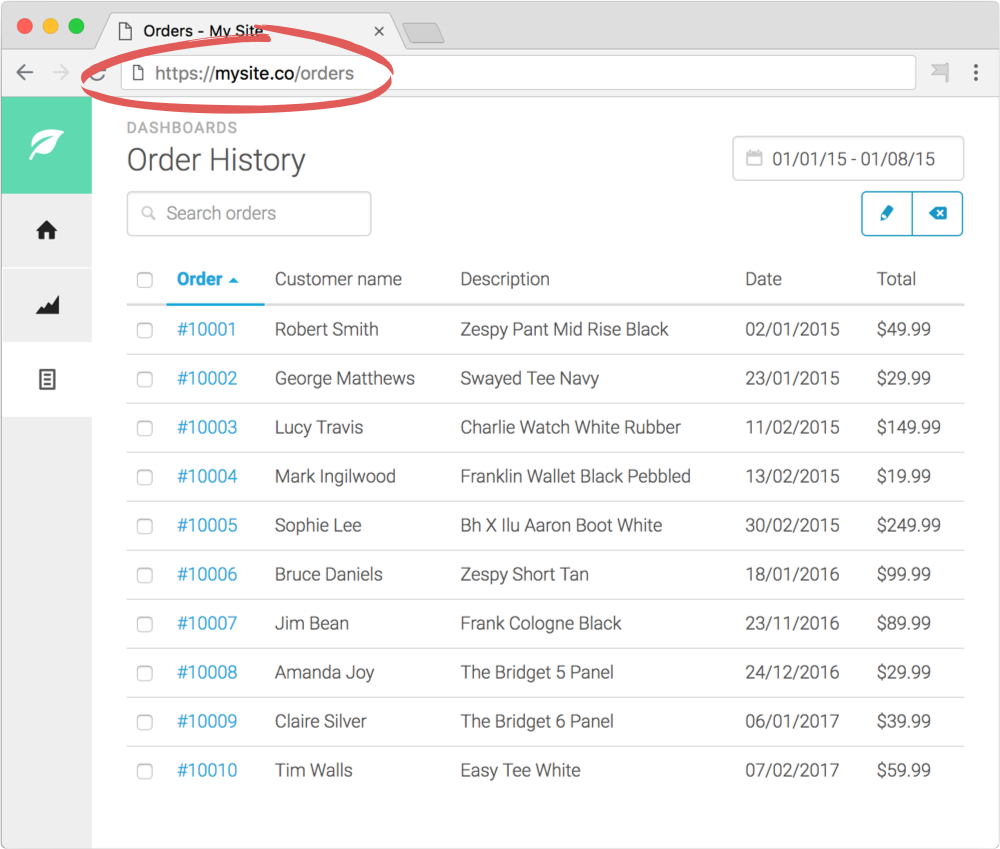
Section titled “2. Navigate to your website URL”Go to any page on your website where you want to create a HelpHero tour.
3. Click the HelpHero icon
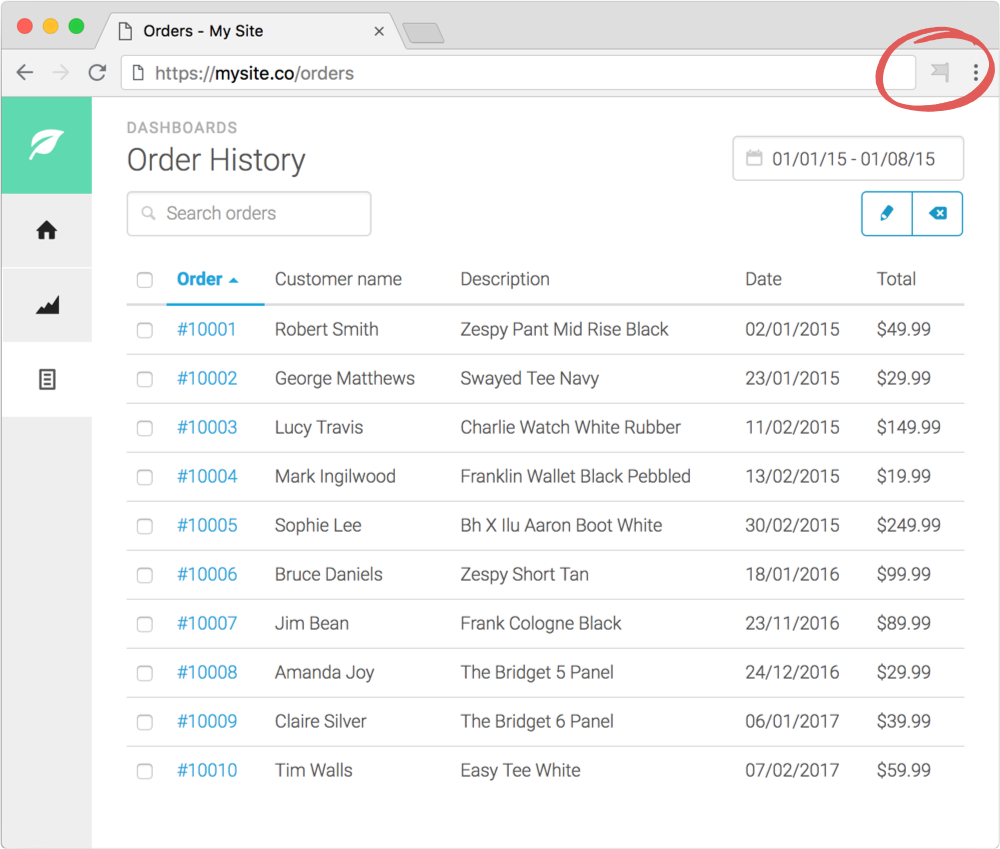
Section titled “3. Click the HelpHero icon”Click the HelpHero Icon to bring up the HelpHero extension settings popup.
Don’t see a HelpHero icon in your chrome toolbar?
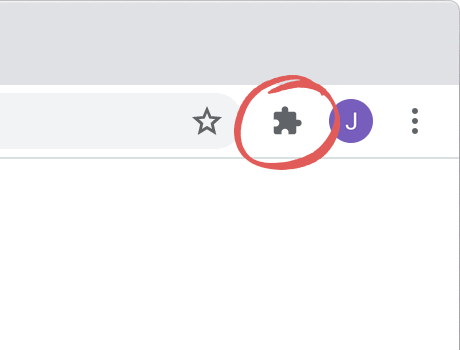
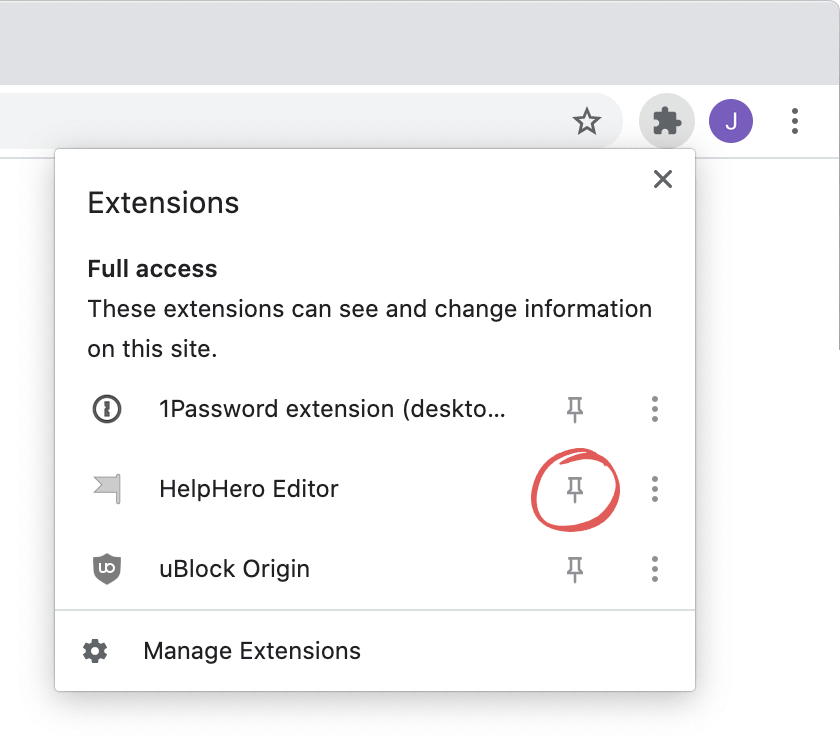
Section titled “Don’t see a HelpHero icon in your chrome toolbar?”Click the toolbar extensions icon, then click the pin icon. You can also watch this step in the video.
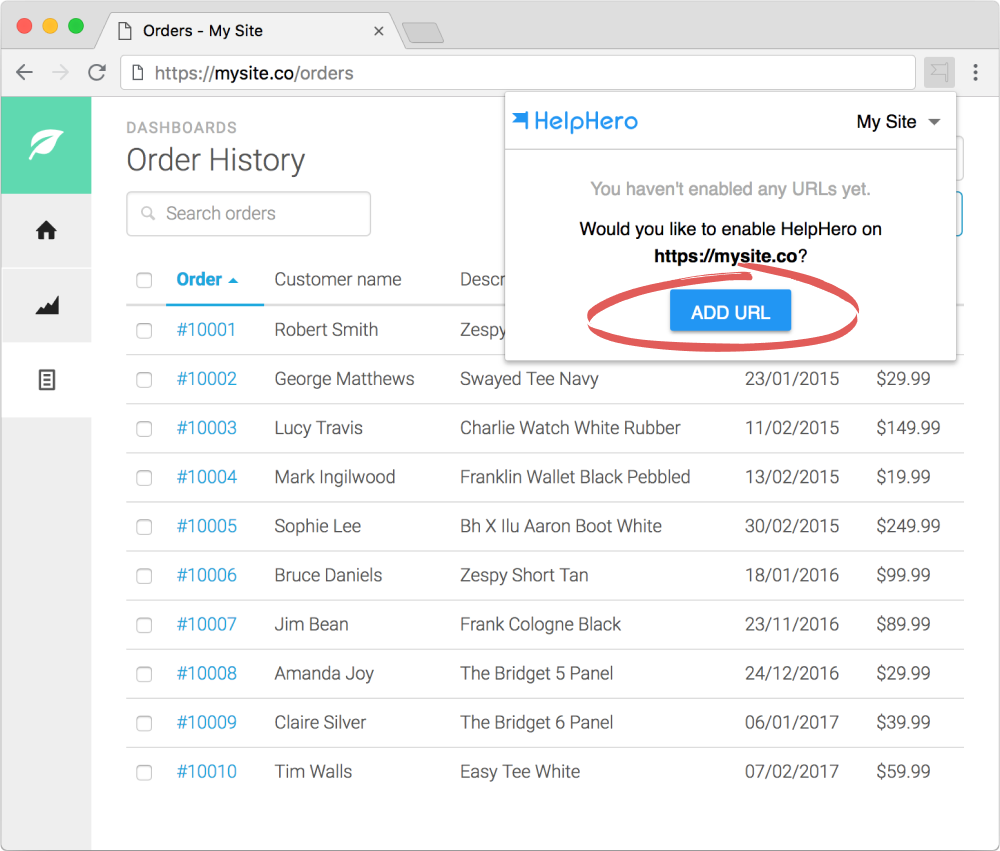
4. Enable your website URL
Section titled “4. Enable your website URL”Click ADD URL to enable HelpHero Editor on your website.
Note: You only need to do this on one page of your site.
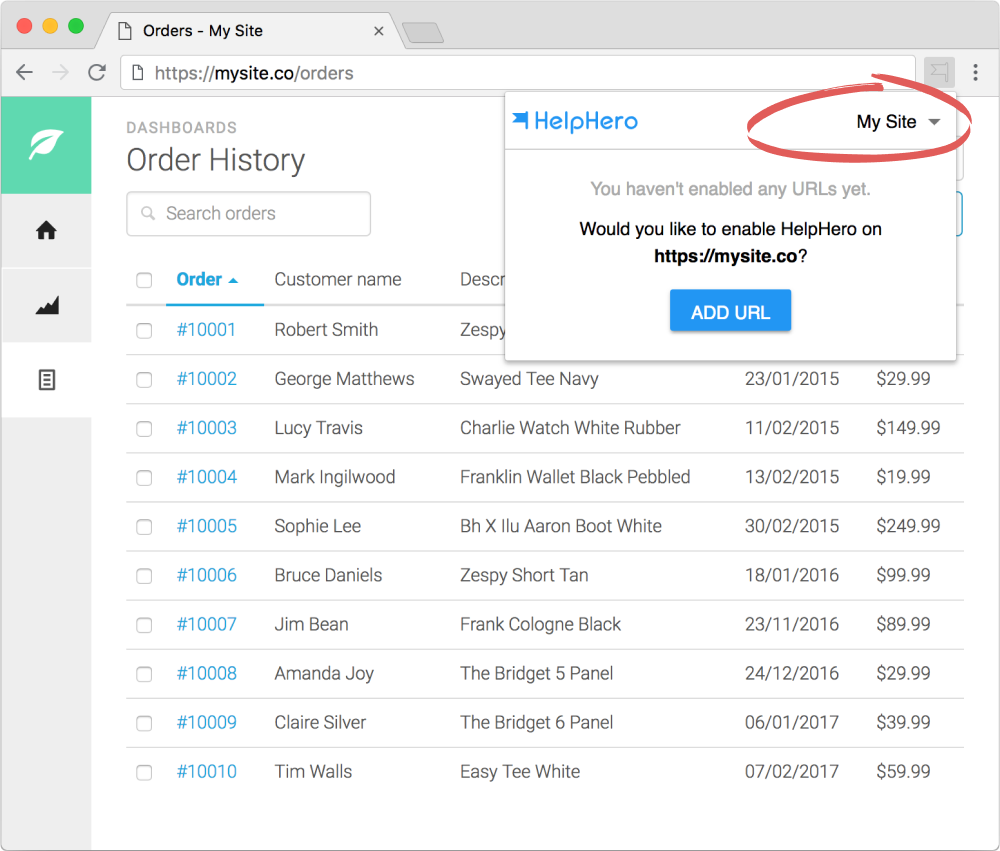
Have you created multiple HelpHero apps?
Section titled “Have you created multiple HelpHero apps?”If you belong to multiple HelpHero teams. Please ensure you have selected the correct App in the HelpHero extension settings popup.
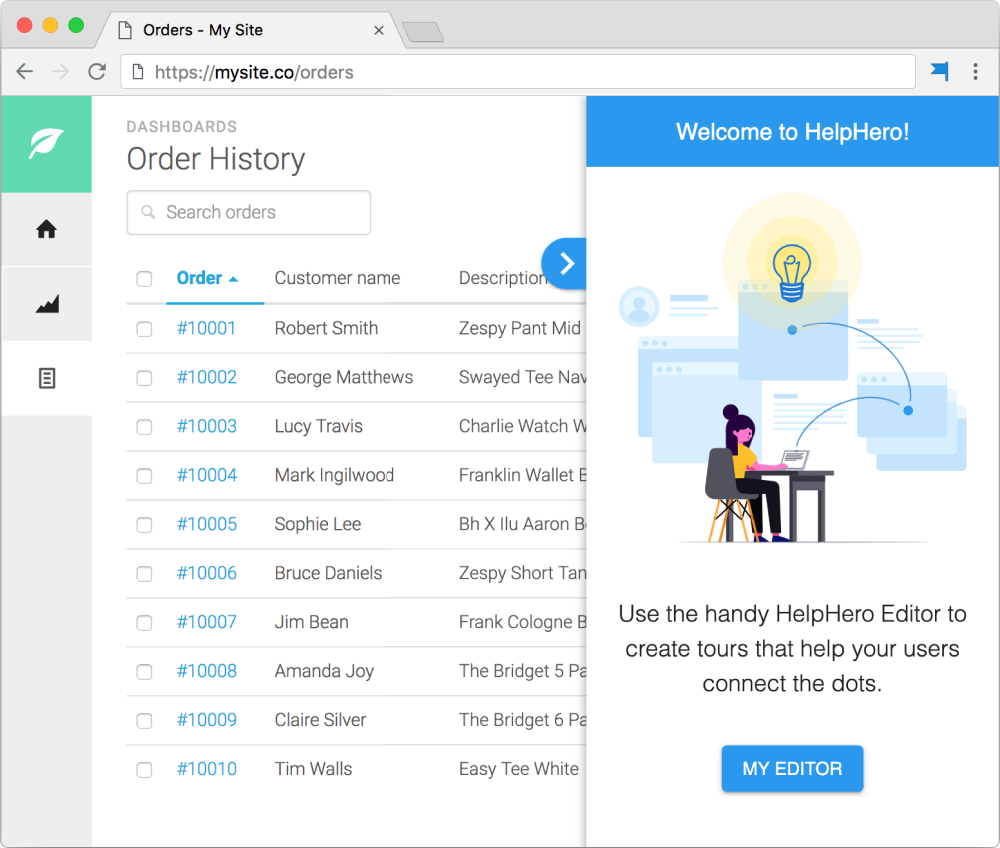
5. Start creating tours
Section titled “5. Start creating tours”The HelpHero Editor should appear on the right hand side of your website. You can now start creating and previewing tours.
Once you are ready to publish your tours to your users you will need to install the HelpHero script tags.