Starting tours
HelpHero tours can be started in any combination of the following ways:
Auto start once
Starts the tour automatically when a user visits a matching URL and they have not previously viewed the tour. This is useful for welcome tours or explaining new functionality. You can enable this setting per tour from the HelpHero Editor.
What happens if more than one tour is eligible to auto start?
If there is more than one tour eligible to be auto started from the page the user is currently on, then the higher priority tour starts and the other tour will start on their next visit to that page or page refresh. This behavior is intended to prevent the user being overwhelmed with tours. You can prioritize tours with drag and drop in the HelpHero Editor.Auto start every visit
Starts the tour every time the user visits. When using this option, we recommend the following:
- Using a toast as the first step as this is less intrusive.
- Add a dismiss button to the first step to allow the user to opt-out of the tour.
When will the tour be shown again?
HelpHero will start the tour again once the user starts a new page session:- A page session lasts as long as the browser is open, and survives over page reloads and restores.
- Opening a page in a new tab or window creates a new session.
- Closing a tab/window ends the session.
Checklists
You can add your tours to checklists to provide your users with a structured way to learn and get started with your application. To learn more head over to the checklists docs
Sharing links
You can share a link to a particular tour. This is great for initiating your tours from outside of your app. For example by using a link your tours can be included in emails, your documentation or in chat apps. Links are also a great way to test tours by sharing them with your colleagues before enabling them for your users. Tours can always be started from a link regardless of how auto start and on demand are configured. Need to setup tour links for more advanced scenarios like wildcard domains or query strings? Head over to the tour links docs
Intercom Messenger
If you are using Intercom you can display your tours from both the Intercom Messenger Home and Intercom Messenger Conversations. Learn more about integrating with Intercom
JavaScript API
Tours can be started from your own code via the HelpHero JavaScript API. This is useful for more advanced use cases where you need greater control of when tours start. For example you may want to start a tour on a click to a particular element for example:
<button type="button" onclick="HelpHero.startTour('<TOUR_ID>')">Start tour</button>
Or you may want to start tours in respond to an event in your system. Tours can always be started from the JavaScript API regardless of how auto start and on demand are configured.
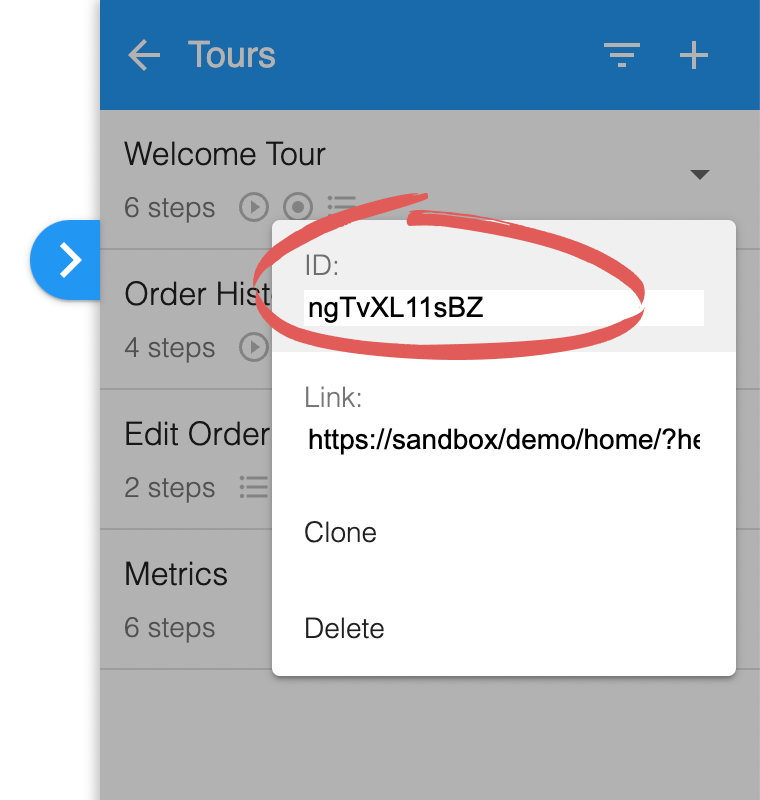
Where do I find the ID of a tour?
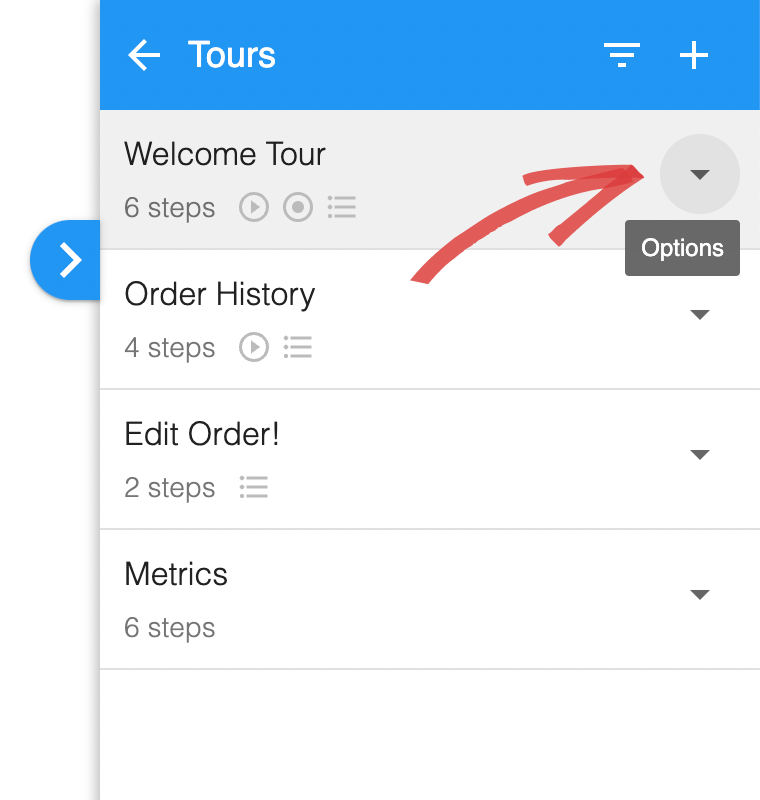
If you want to start a tour via the JavaScript API you will need is it’s ID. You can get the tour ID of any tour you create from the HelpHero Editor.

